Theshoroom
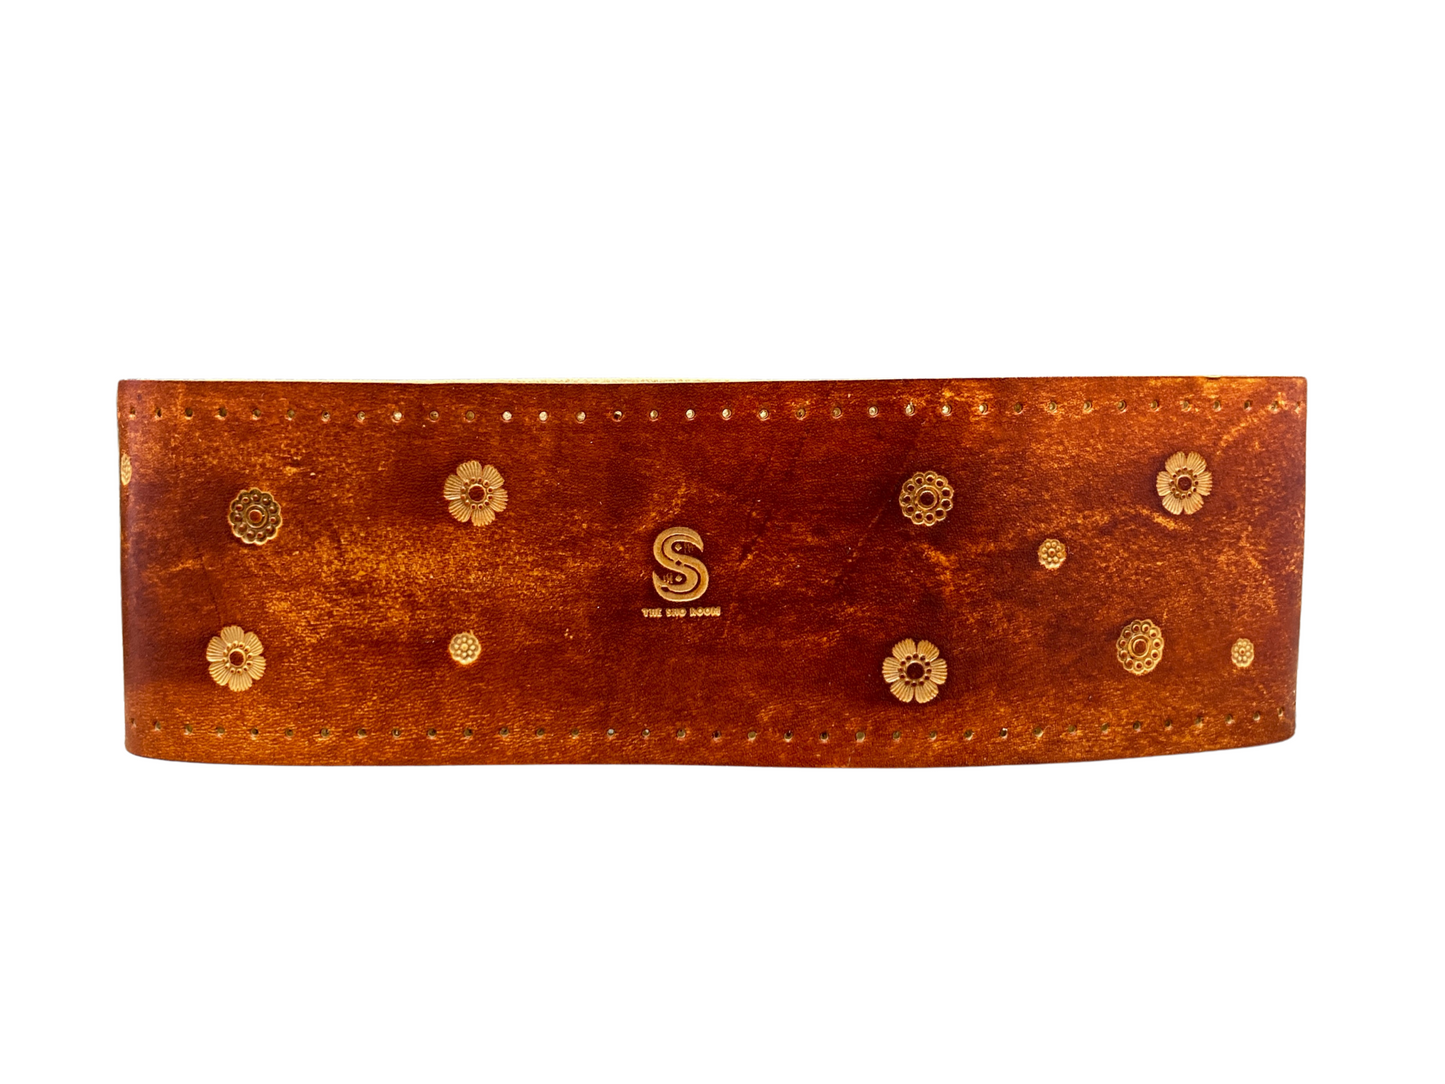
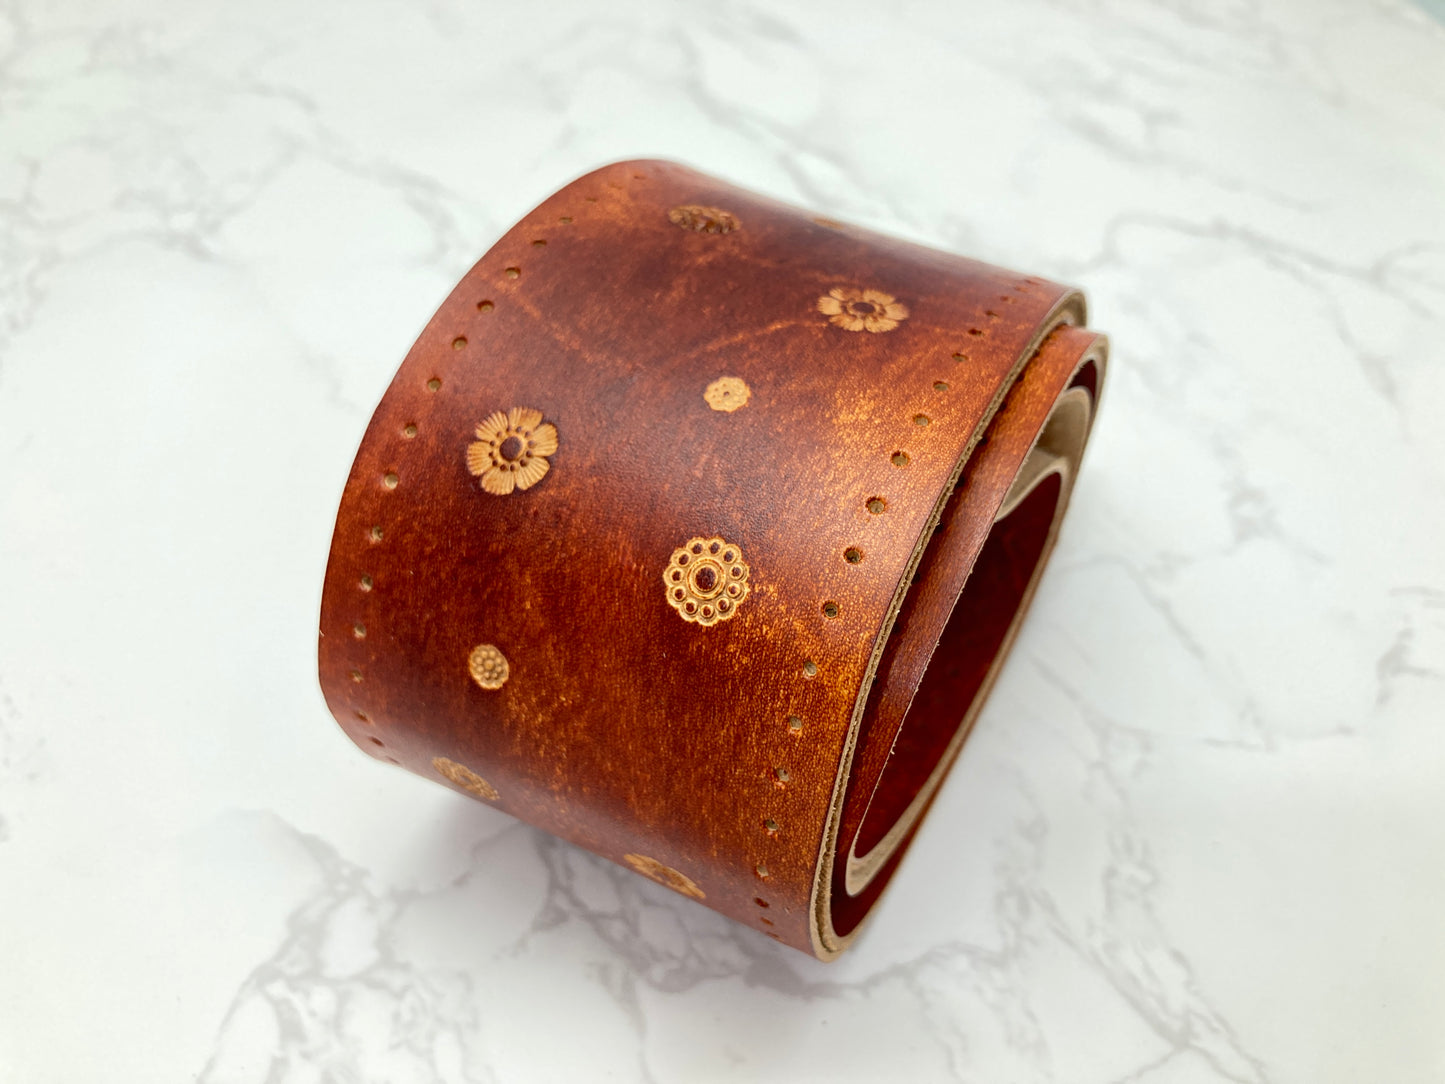
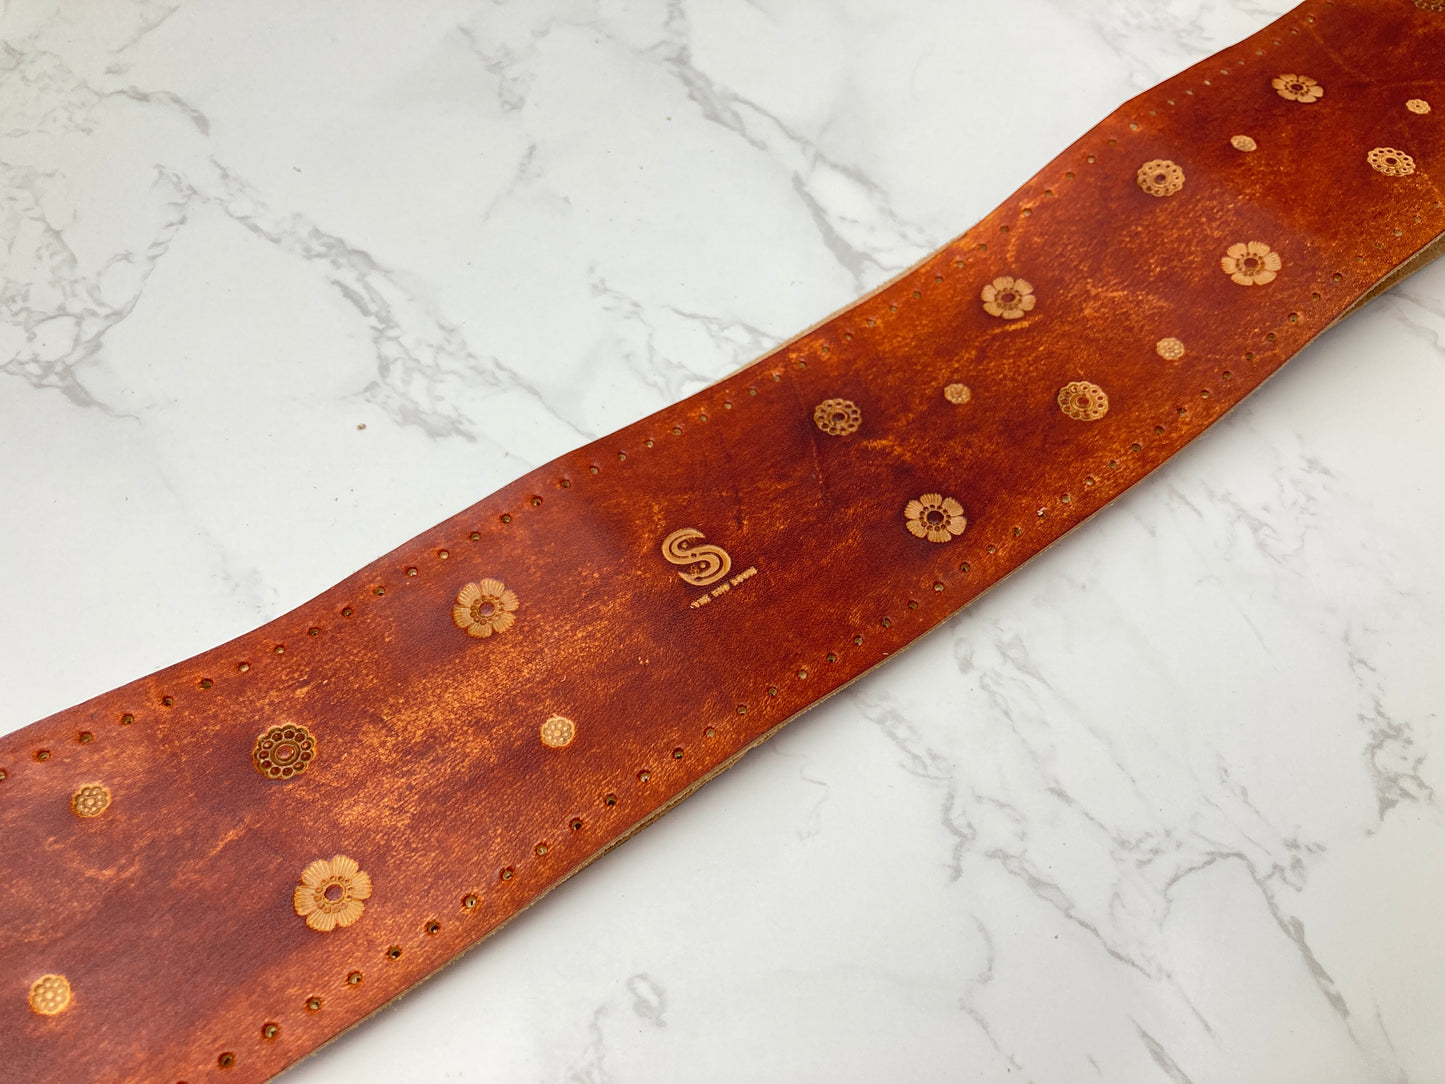
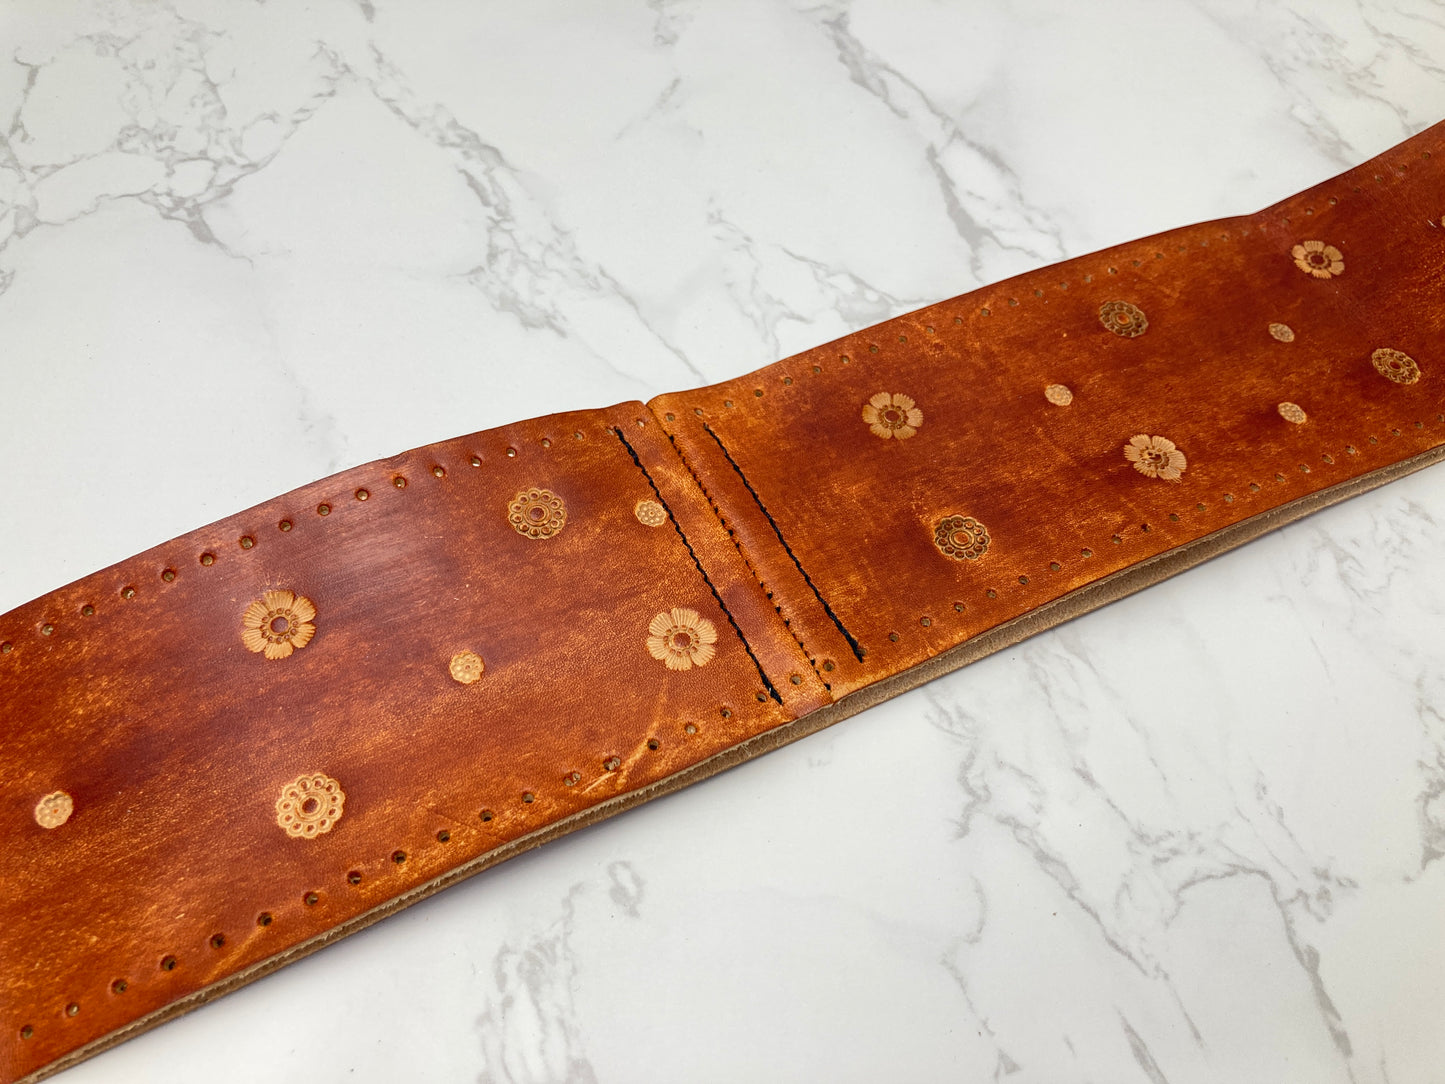
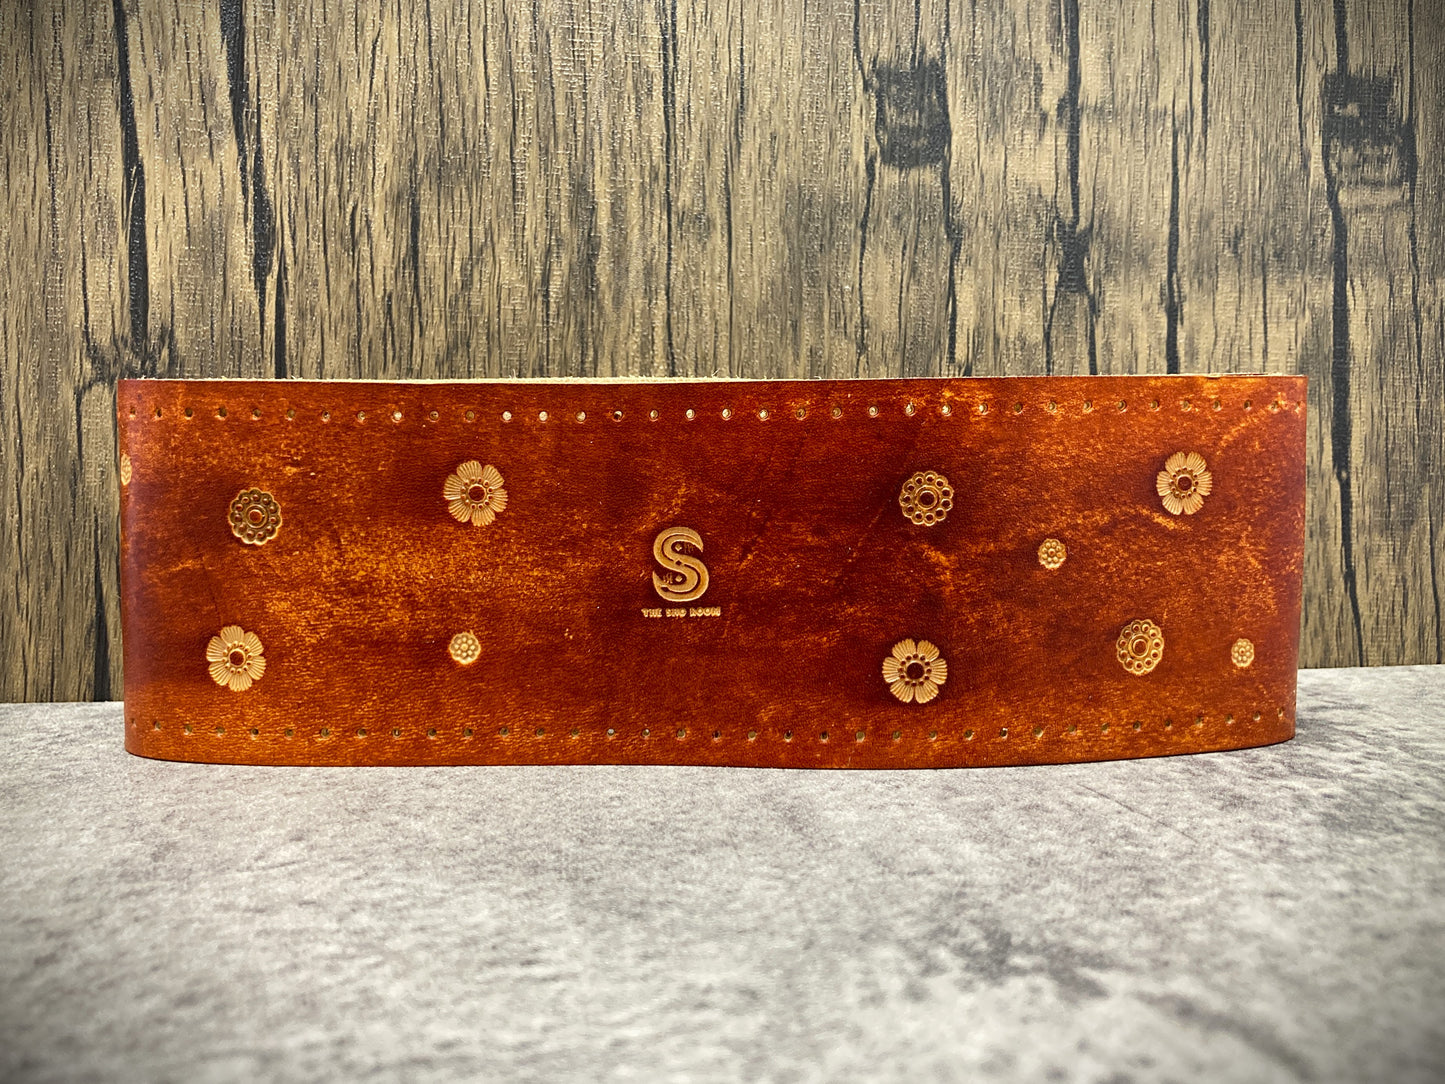
Hand tooled custom leather steering wheel cover - Flowers
Hand tooled custom leather steering wheel cover - Flowers
Couldn't load pickup availability
Say good bye to cheap, low quality "genuine leather" wheel cover...
Choose The Sho Room leather wheel cover for the life of your vehicle!
- 10 year guarantee!
- Never peel like other wheel covers after 12 months!
- Ages gracefully with patina thanks for natural leather!
- Handmade with love for perfect fit!
This is the steering wheel cover you will ever need. It will not crumble apart like other synthetic or so called "genuine leather" wheel covers. No more wasting money and time, get the REAL leather wheel cover!
You will need to provide the measurements for me to work with.
Please see the instruction below for How to place order.
Materials
Materials
🌿 Crafted from full grain vegetable-tanned leather, an eco-friendly and sustainable material
Dimensions
Dimensions
📏 Custom Fit Steering Wheel Cover
This cover is tailored to your provided measurements for a perfect fit:
Use our guide
below the page to measure the wheel diameter and circumference
accurately.
Installation
Installation
📖 Easy Installation for Thread-On Steering Wheel Cover
Comes with detailed video instructions to help you securely thread the cover onto
your steering wheel for a snug and stylish fit. Please see the video below this page
Features
Features
Thread-on style for a secure, stylish finish
Hand-dyed finish, making each cover unique
Durable and natural feel of the REAL veg tanned leather
Shipping & Returns
Shipping & Returns
Typically 1-7 days (Depends on customisation - please enquire )
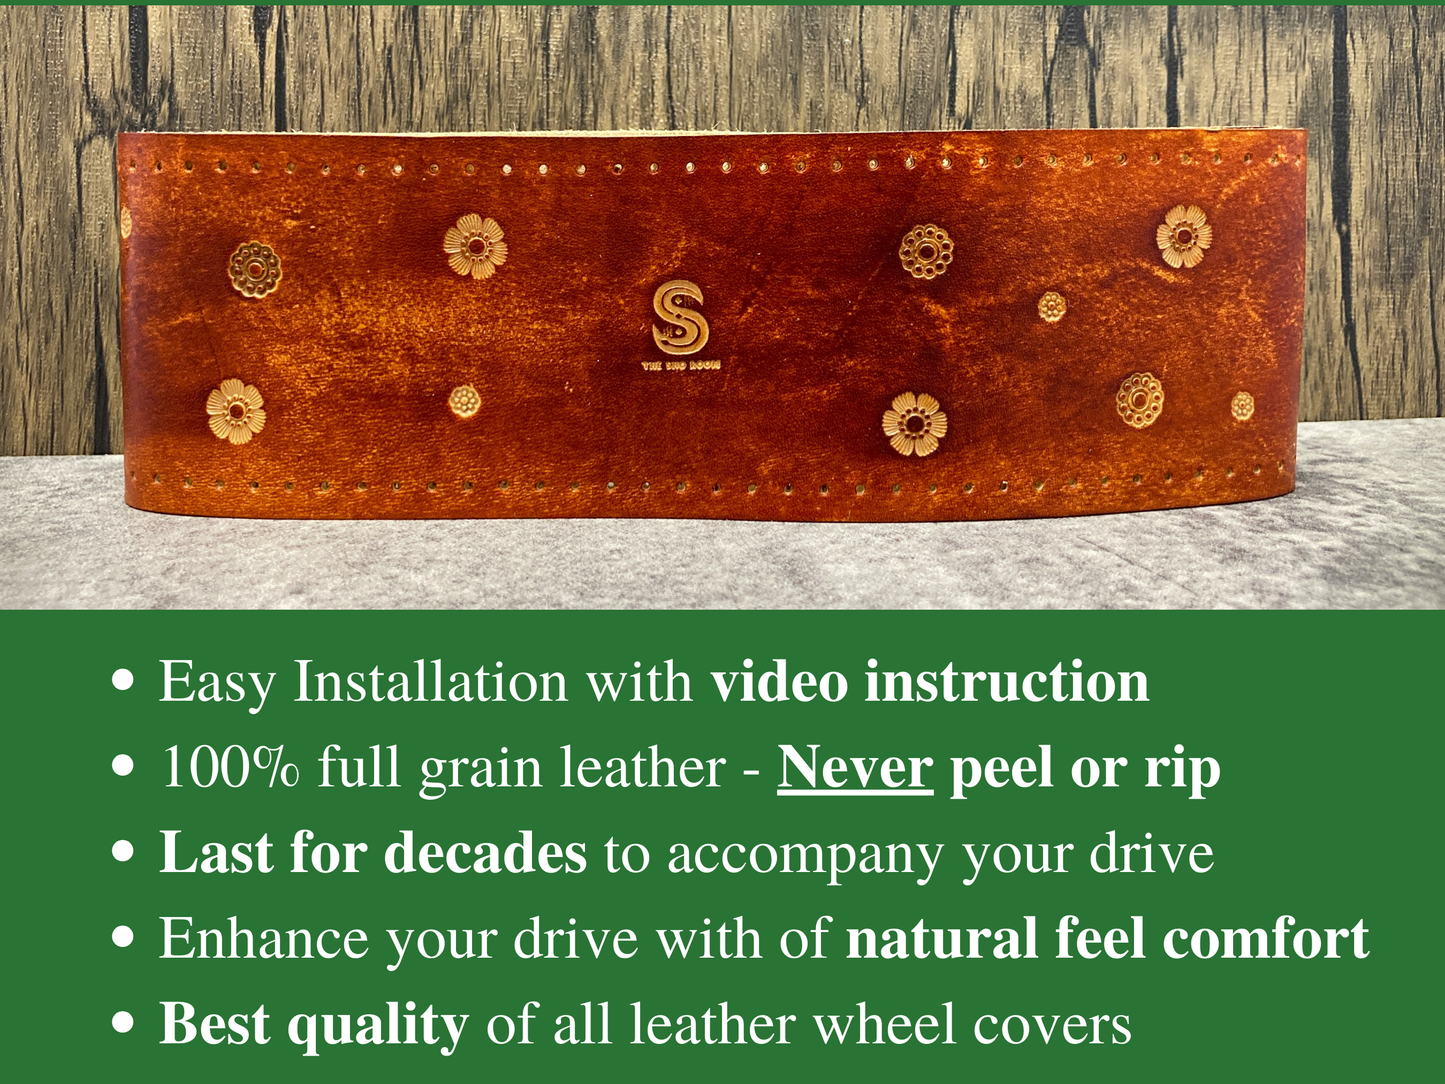

Why choose our steering wheel cover?
Have you been disappointed with low quality, affordable wheel covers with rip, tear and peel?
Say good bye to so called "GENUINE LEATHER".
What many people gets tricked thinking this genuine leather lasts for long time.....

Benefits:
- 10 year quality guarantee with confidence
- Beautiful leather aging with patina
- Made with full grain vegetable tanned leather
- Comfortable, natural feel grip
- Personalisation and customised size and designs

Choose our full grain leather
We have many grades of leather for any leather products. Here are some of them to give you ideas...
1. Full-Grain Leather (Highest Quality, what we use)
- Top layer of the hide with natural grain intact.
- Strongest, most durable, and ages beautifully (develops a patina).
- Retains natural imperfections (scars, wrinkles).
- Used for high-end luxury leather products.
2. Top-Grain Leather
- Still from the top layer of the hide, but sanded or buffed to remove imperfections.
- Often treated or finished to give a uniform appearance.
3. "Genuine Leather" (Misleading Term)
- Made from lower layers of the hide after top-grain is removed.
- Often corrected and embossed to mimic higher-quality leather.
- Less durable and wears out much faster.
- Used for budget leather products.
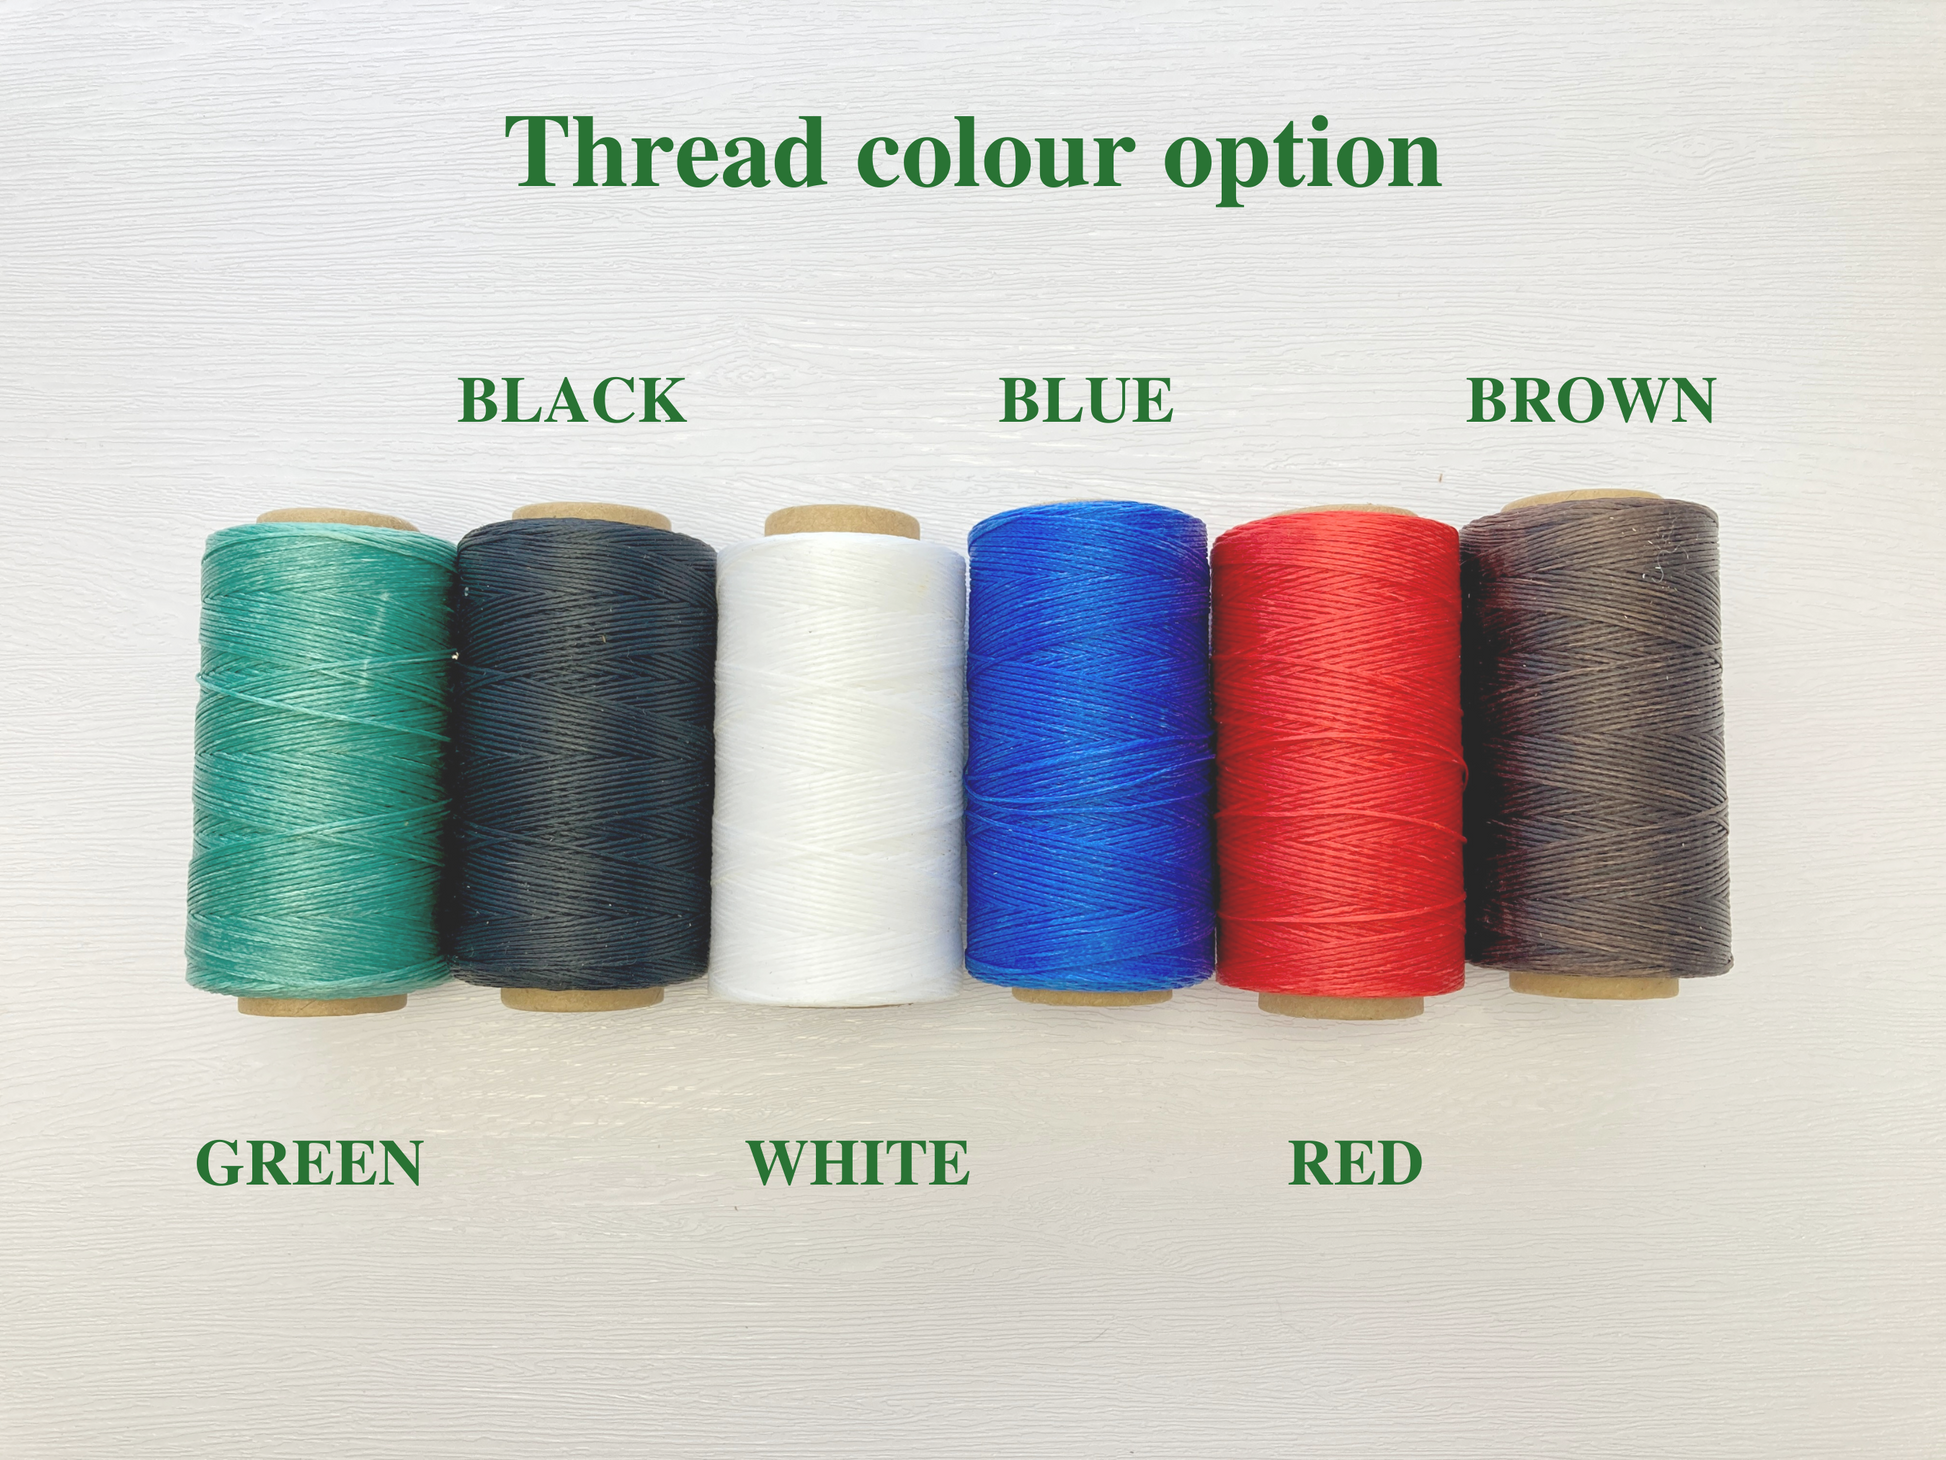
Beautifully hand crafted - choose from our collections!


HOW TO PLACE ORDER FOR CUSTOM WHEEL COVER
First, find your favourtite style of the wheel cover from our collections.
If you cannot find the style you like, you are welcome to request a design - contact us.
Once you know the designs you like, follow simple steps shown below.

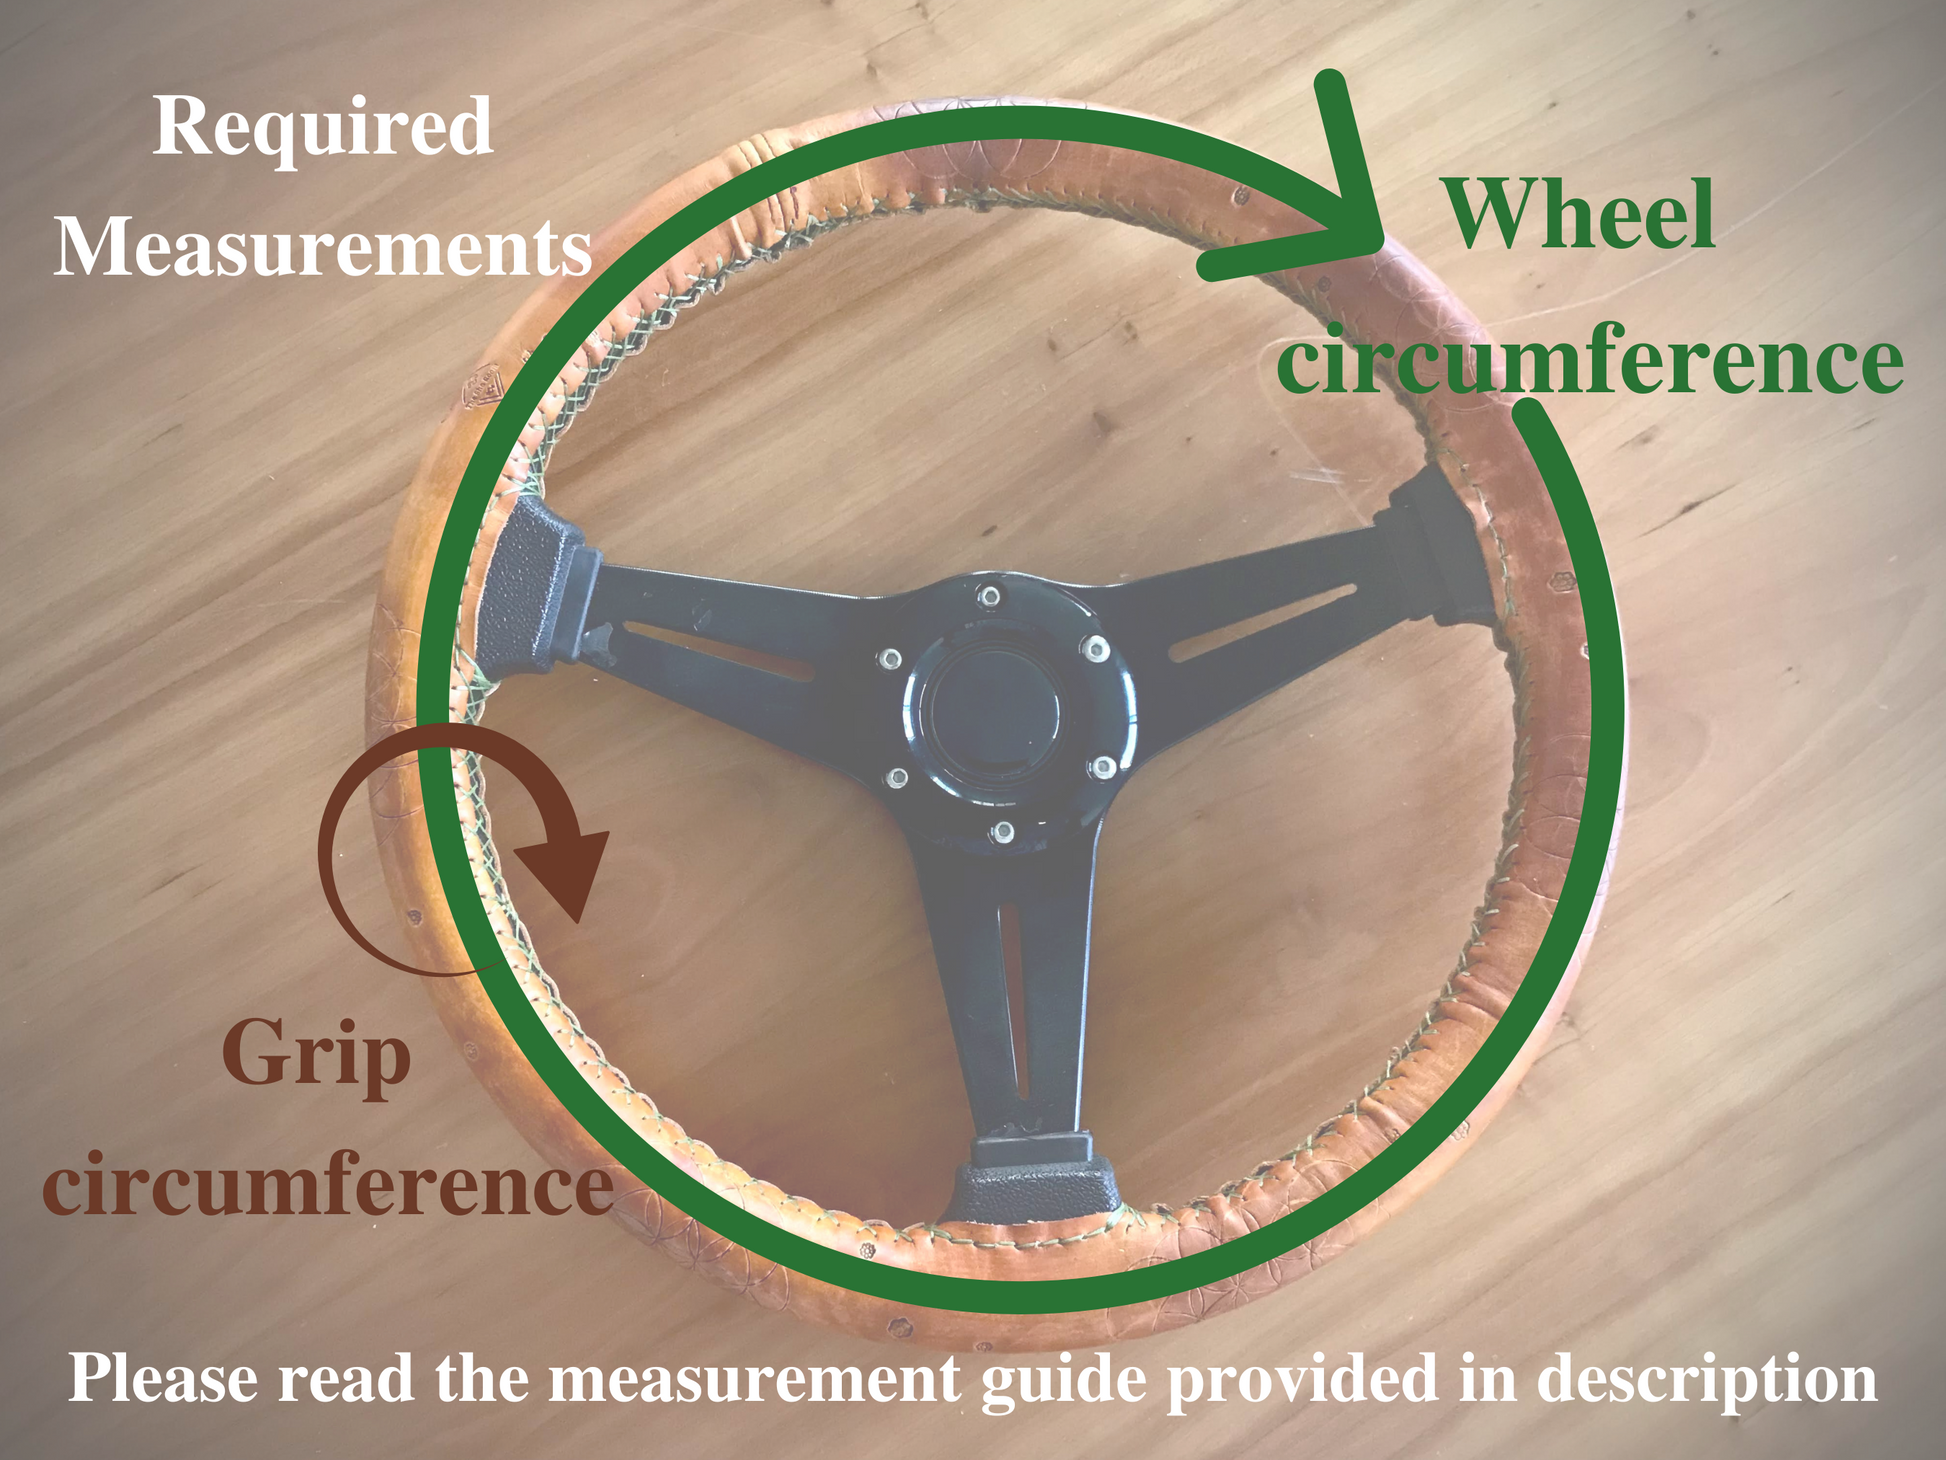
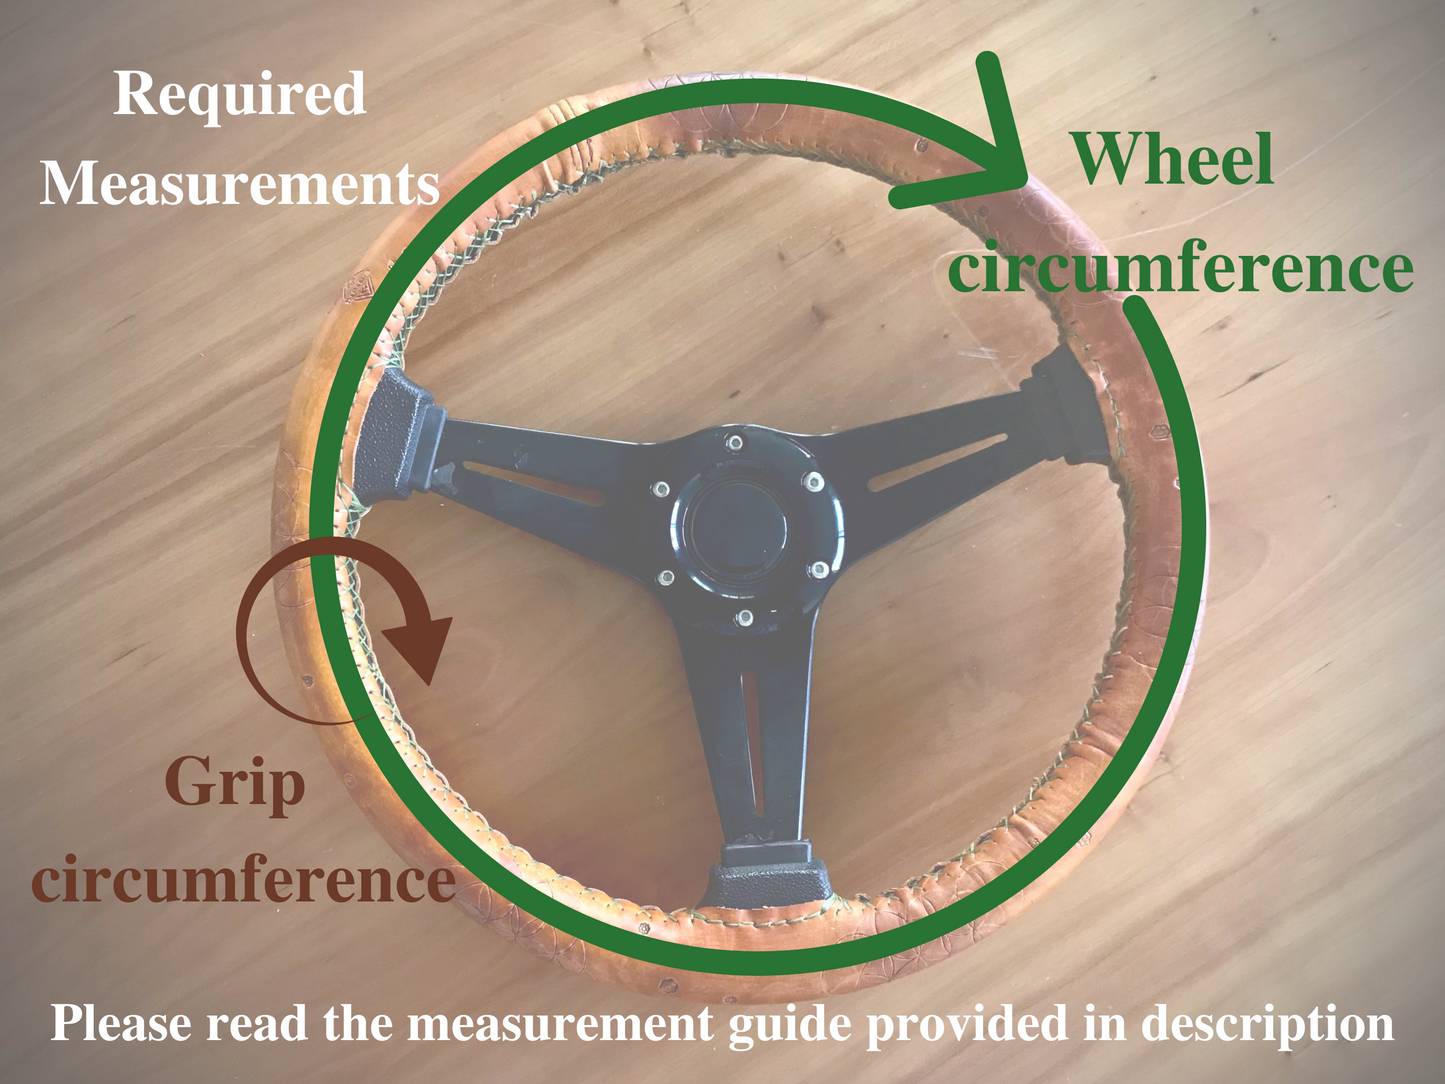
HOW TO MEASURE YOUR STEERING WHEEL

Accurate measurements = the best result! :)
Use a non - stretchy soft tape measure

1. Measure the wheel circumference

Please make take measurement along the center of the edge like shown in the photo
Make sure the tape is tight all the way around.

In this photo the measurement is 109.7cm.
2. Measure the grip circumference

In this photo the measurement is 9.7cm.
(We use those measurements to calculate the optimal sizing. We make the cover slightly small than those measurements for perfect fit.)
How to thread your leather steering wheel cover
Time Required: 1-2 hours
Allow yourself enough time! All good project takes time :)
Things Required:
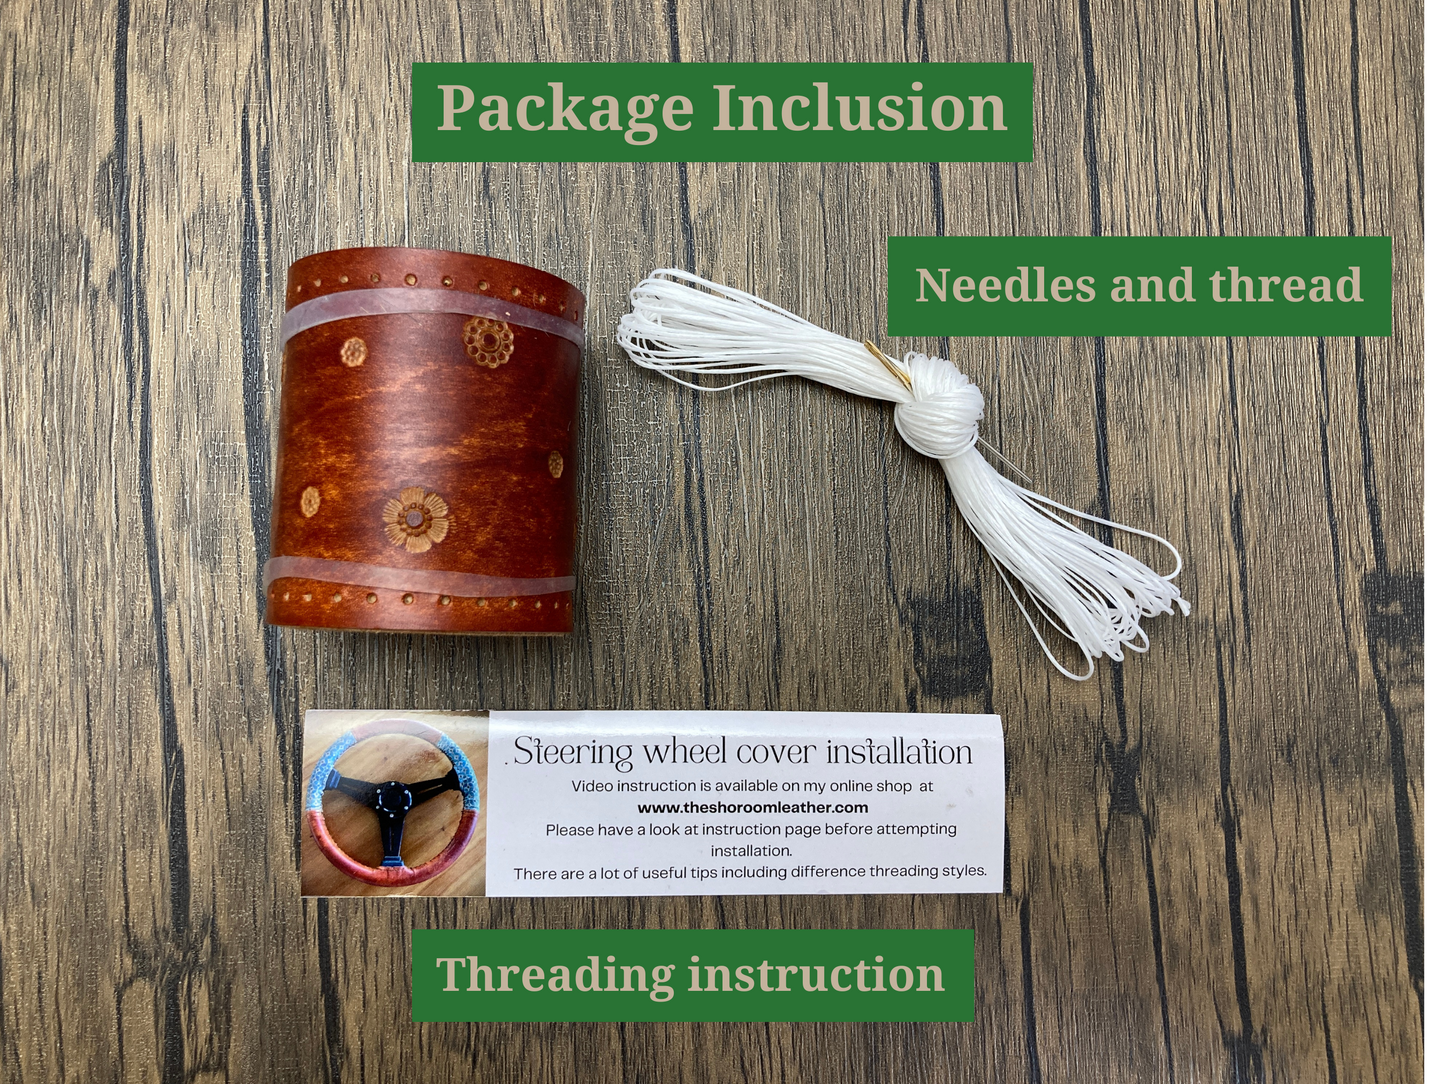
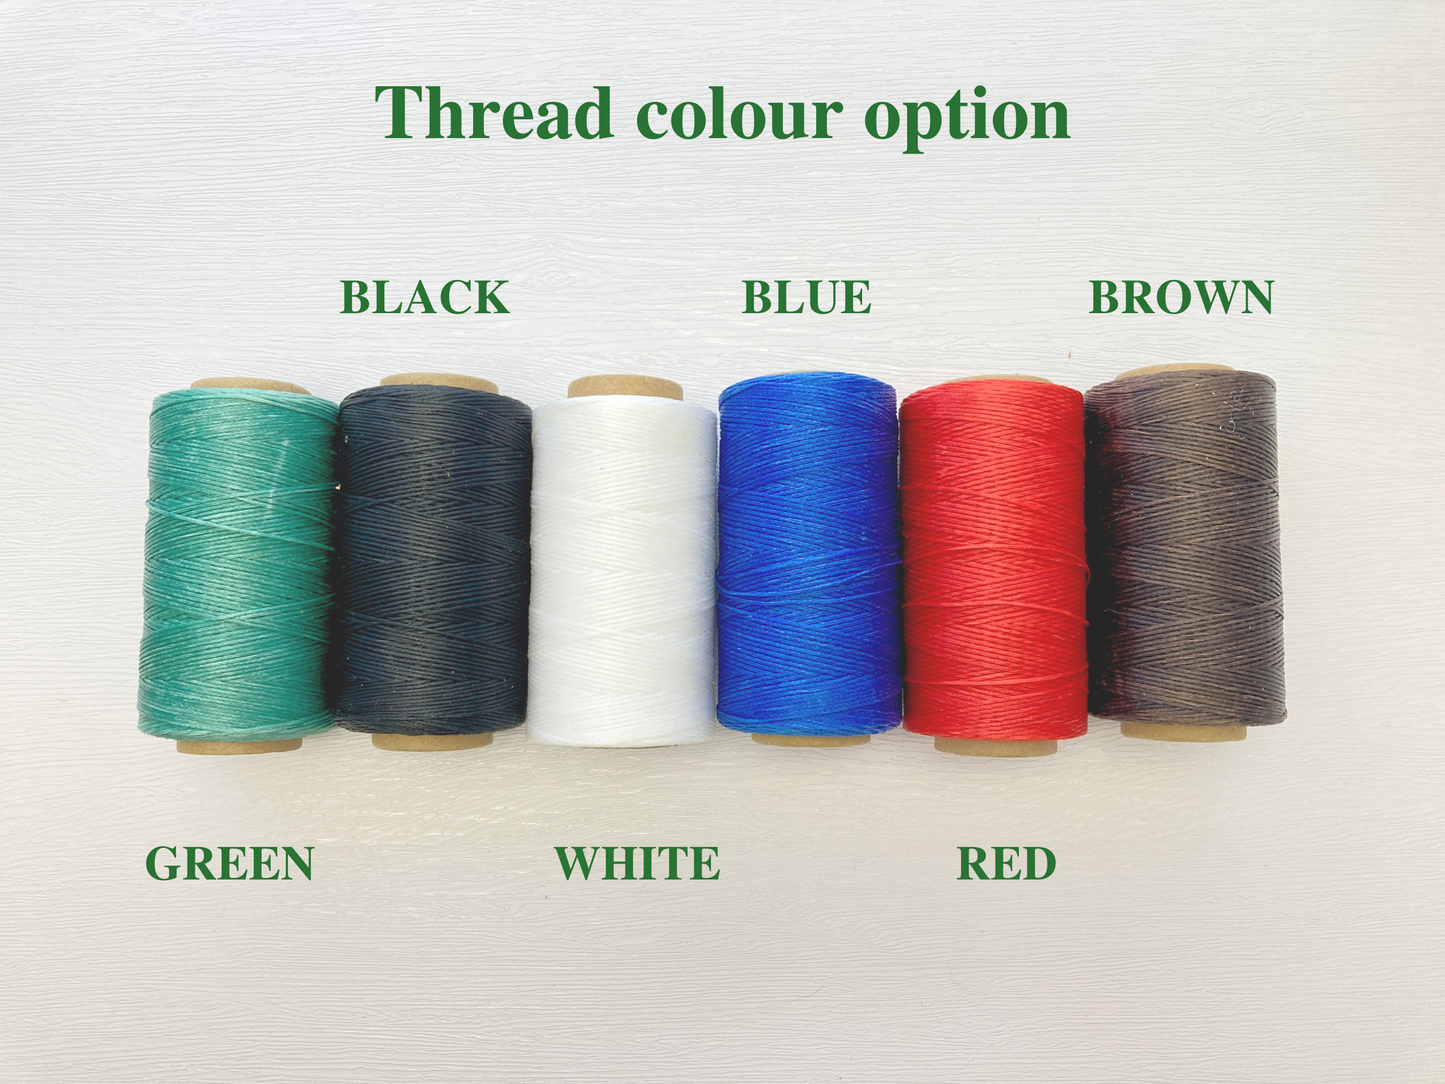
- Needles and thread (Included in your purchase)
- lighter
- Wheel cover
- cutting tool - scissors or knife
- Butter knife
- Small slotted screw driver
- Optional : Gloves


Please watch the short instruction video to learn how to thread your leather steering wheel cover.
You may want to watch our troubleshooting video here as well for further help.
Steering wheel shape
If your steering wheel has humps, please please see this photo review from our past customer below and make sure you are going to be happy with the finished look. Please note there is slightly larger gap where the humps are. It gets masked by threading and most of our customers are happy with the finish.


